
Glazes – Results of My First Firing
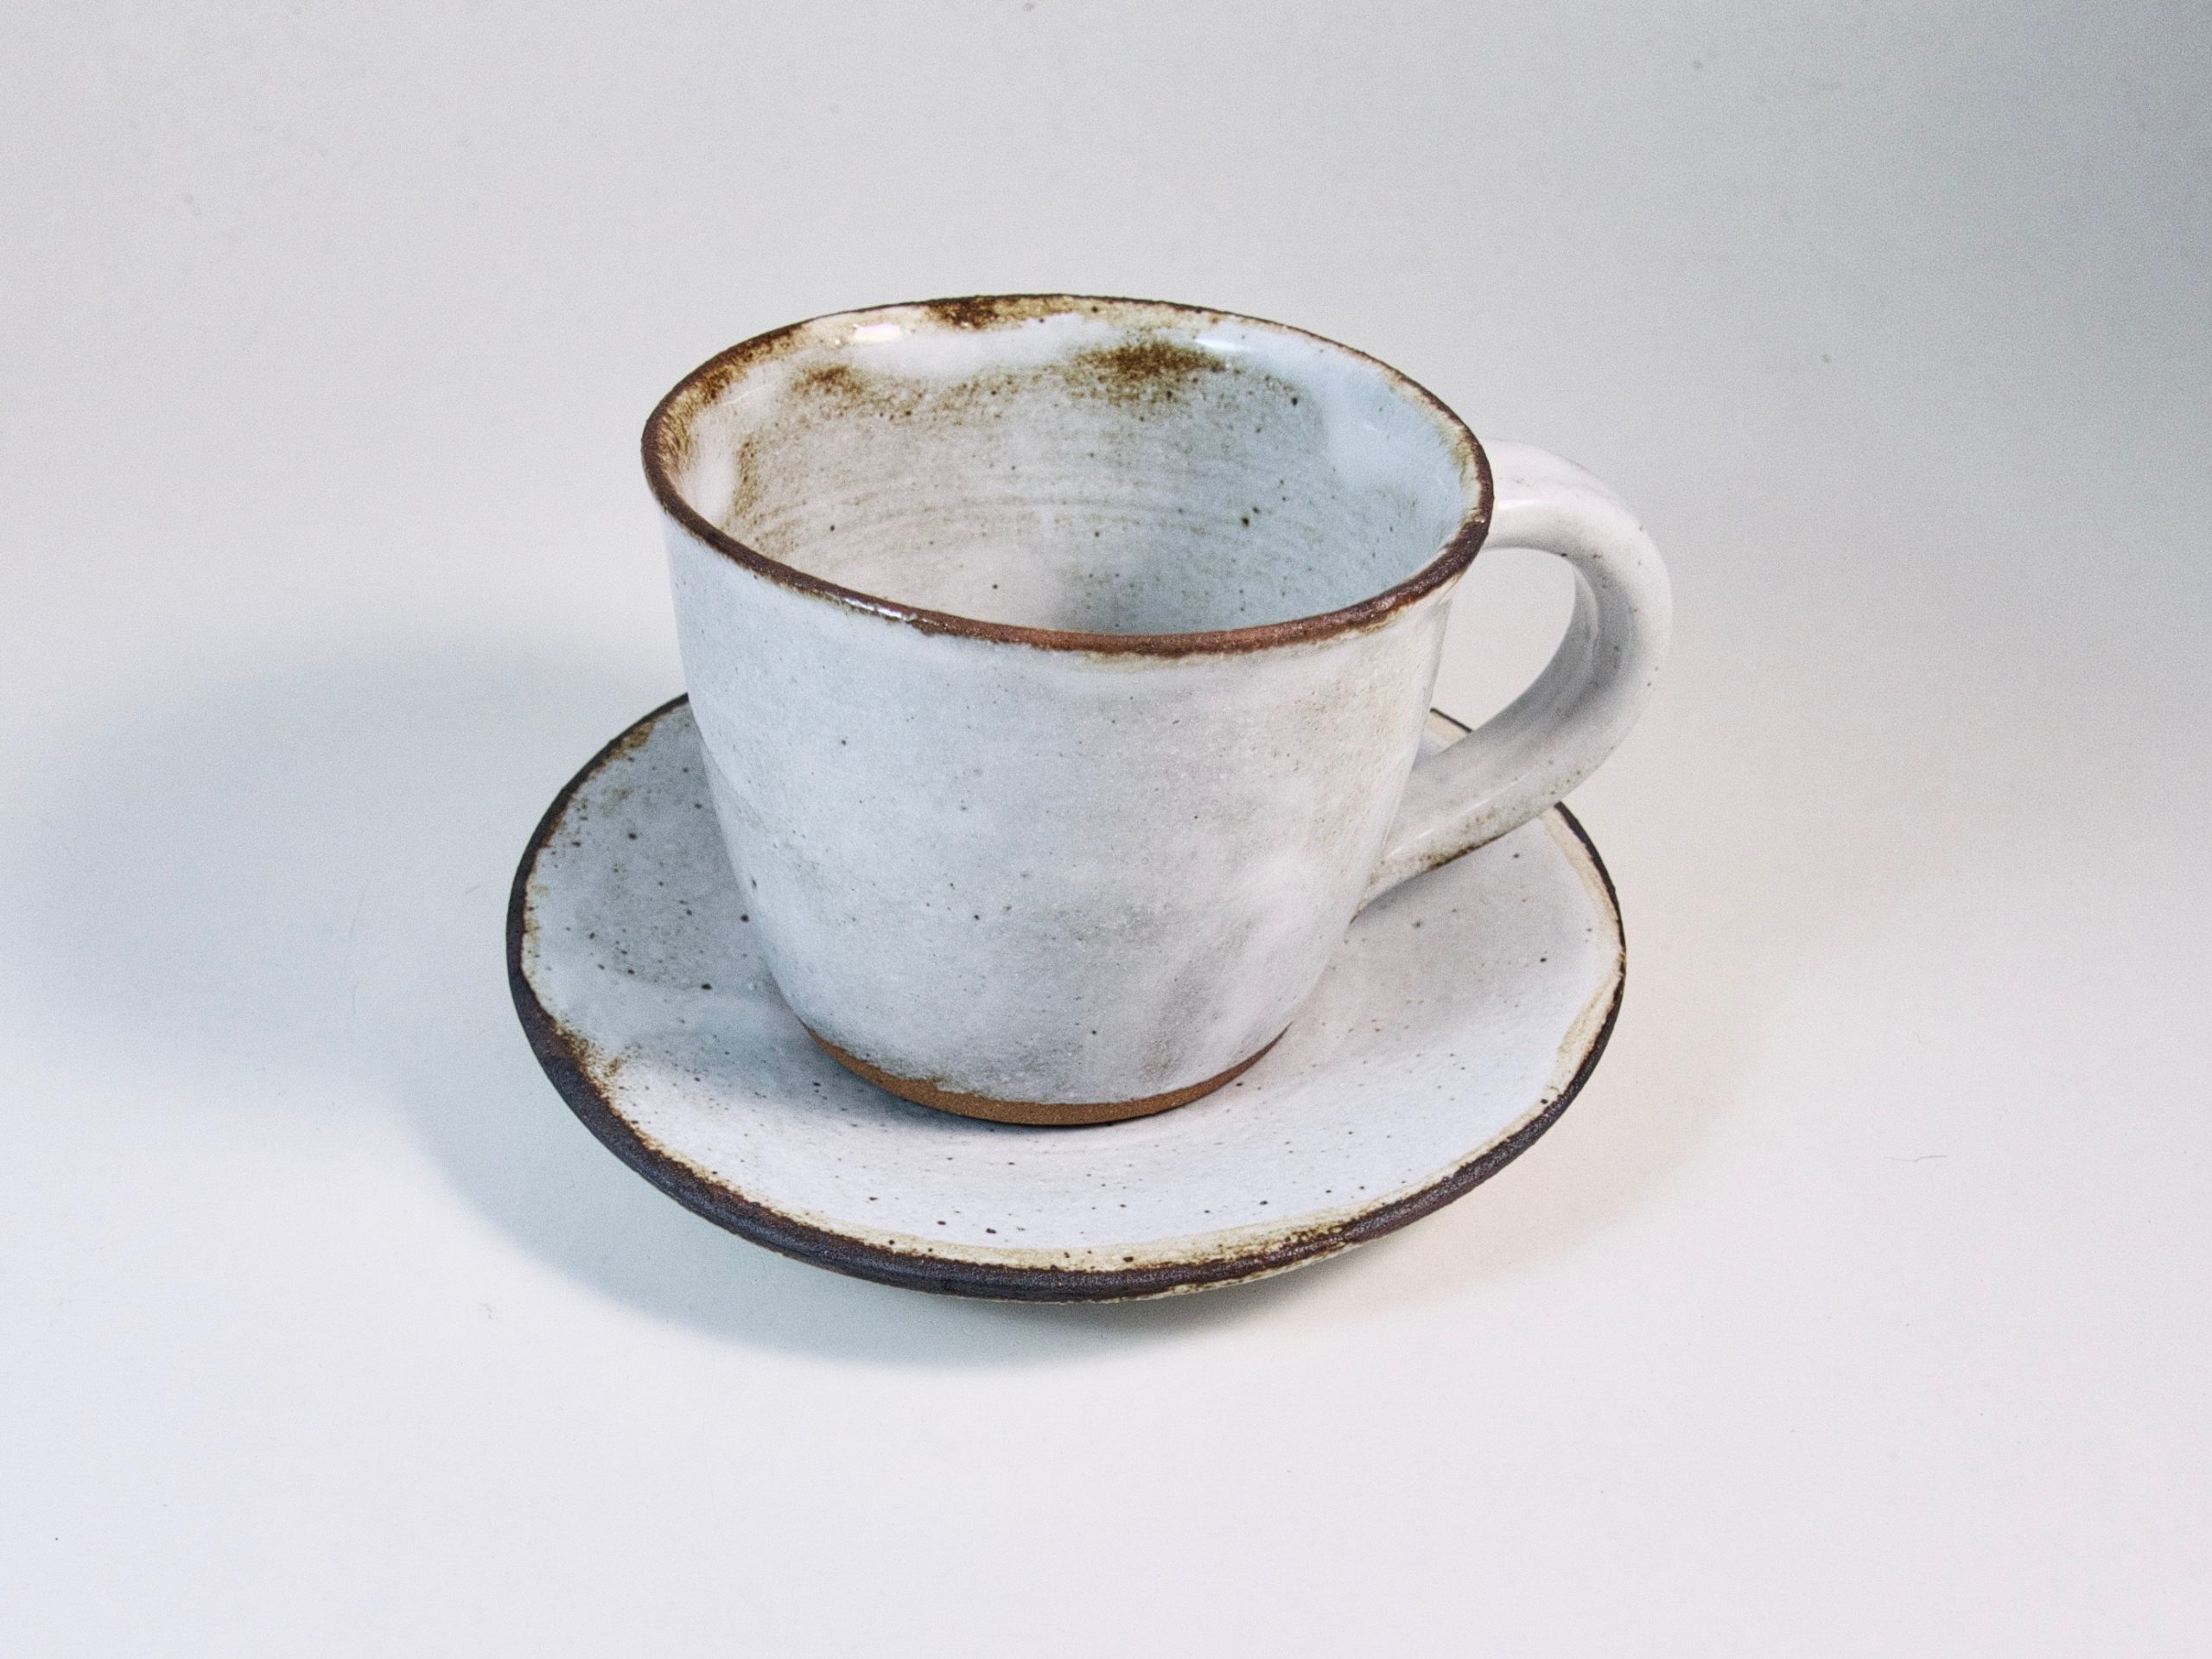
Hello! I am sharing the results of my first firing so that you can see how the tests turned out.
The firing took place in a gas-fired kiln. My aim was to reach an indicated temperature of 1,220°C and monitor the bending of cone 6 on the middle shelf. These are complementary observations: a cone responds to the combined effect of time and temperature, rather than a fixed temperature in every firing cycle. I also aimed to maintain a reduction atmosphere from 1,000°C onwards, in line with the requirements of the glazes selected for this test.
It is always useful to keep a notebook and record everything: the start of the firing, the temperature at least every 30 minutes, the time reduction begins, and so on. It is also worth photographing how the ware is arranged in the kiln before and after firing.
Remember to work very carefully! Wear glasses with infrared filters when looking inside the kiln. Sunglasses do not protect the eyes in these conditions. Wear suitable gloves and never leave the kiln unattended.
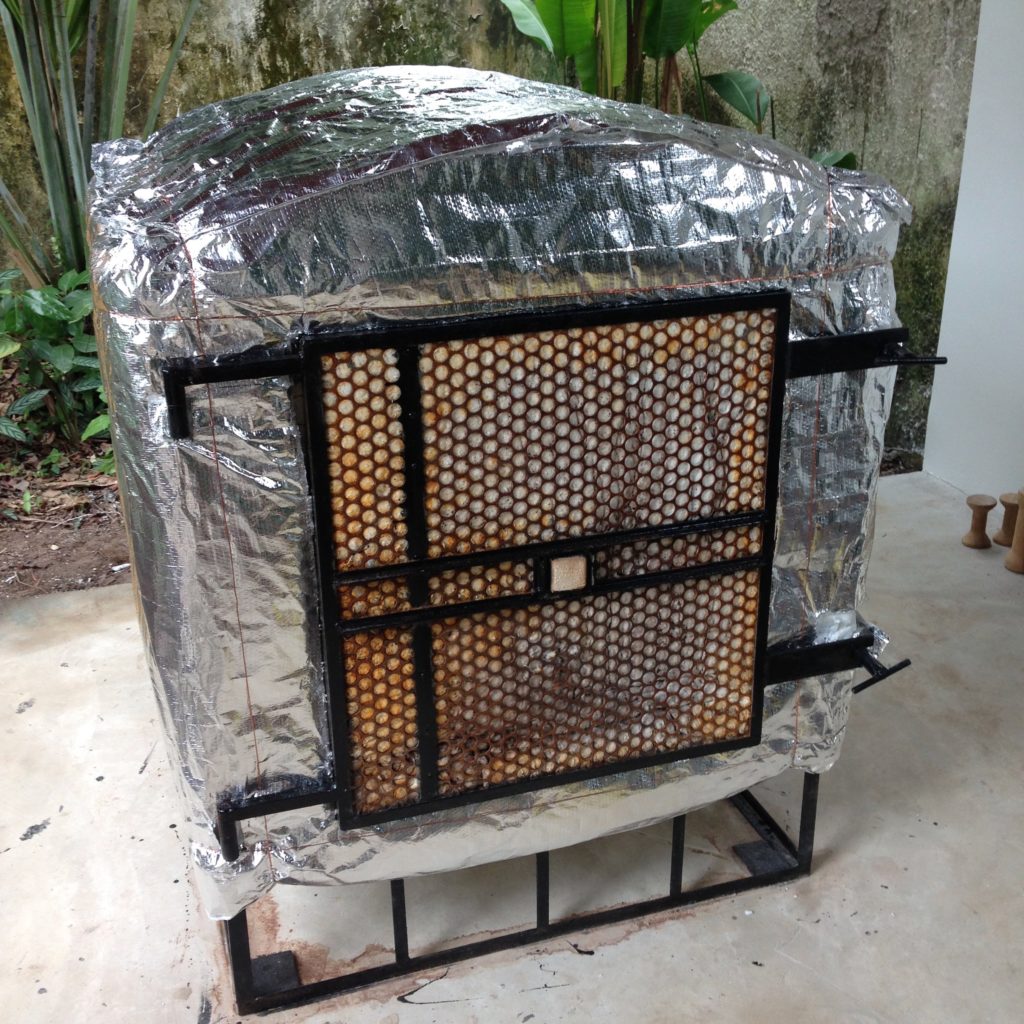
The clay bodies I used were porcelain and terracotta. Both were suitable for firing up to 1,220°C.
Types of Glaze
Here is the list of glazes I used:
- Celadon (read more about celadon here)
- Tenmoku (read more about tenmoku here)
- Transparent glaze (recipe from the excellent book Mastering Cone 6 Glazes, by Ron Roy, John Hesselberth)
- White glaze (the transparent glaze above with 16% Zircopax)
- Ash glazes (the transparent glaze above with 20% ash)
Celadon, tenmoku and ash glazes are normally fired above cone 10 (1,300°C), but while researching I found a very interesting article by potter John Britt with celadon and tenmoku recipes for cone 6.
The Importance of Boron Frit
In the recipes I selected for this test, I used boron frit to promote melting at cone 6. This was a formulation choice, not a requirement for lead or boron frits in every cone 6 glaze. The people at Ferro, an American manufacturer of materials for the ceramics industry, kindly provided samples of their frits, which I used to replace the American boron frit.
Results
1. The tenmoku worked well. Coverage was good, with no problems on either clay body:
2. The celadon worked well on porcelain. On terracotta it became dark grey. The terracotta, which has a high iron content, may have reacted with the glaze and darkened it.
Next time, I should apply a thicker layer on the porcelain. This glaze is also translucent and works particularly well on low-relief surfaces.
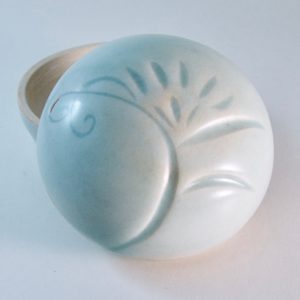
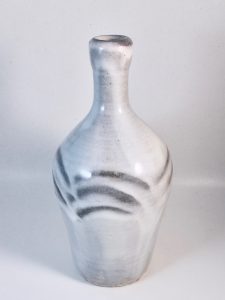
3. The transparent glaze performed very well. It did not become translucent where it was thicker—that milky appearance sometimes seen on a piece. On the bottle below, I used the Japanese kohiki technique (read about it here). Notice how the red terracotta turned grey. This indicates that reduction occurred in the kiln.
4. The white glaze was another surprise. On porcelain it was white, as expected. On terracotta, however, it produced white and translucent areas and an expression I found very interesting. Again, the clay body may have reacted with the glaze and changed its appearance. On the piece below, I also applied manganese and copper oxides to the edges.
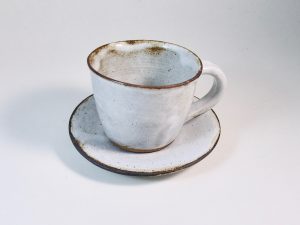
5. The ash glaze did not perform well. There was crazing, and the colour did not seem to develop the green or olive-green character so often seen in successful firings of this glaze.
Conclusion
I think it is entirely possible to achieve excellent results with traditional Chinese high-temperature glazes at mid-temperatures. This could save considerable time and gas in future.
In this first firing, the ash glaze did not give the result I was looking for. I still need to investigate the formulation and firing conditions before attributing this behaviour to temperature. I will continue researching and testing, and will keep you informed of the results!
Until then!
About the Author: Gustavo Assis

Related Posts

Obrigada pelas experiências, estão sendo muito úteis viu?
Obrigado Bibi!
Sou um artesão estou muito interessado em conhecer possíveis possibilidades da técnica do Raku .
Muito bom seu material e seu blog de maneira geral.
Estou realmente interessado em suas pesquisas com esmalte de cinzas a temperaturas menores, continue compartilhando, abraços
Thank you very much for reading!
Olá Rogério. Eu acho que o ideal seria você queimar a partir de 980 graus. Para 800 você pode fazer queima de buraco ou sagar. Mas essas queimas não usam esmalte por assim dizer. Vou fazer um vídeo sobre queima de sagar em breve. Um abraço!
estou amando o seu blog..rs…eu gostaria muito de fazer um forno como este seu da foto acima, creio que para quem tem pouca produção e ainda é iniciante como eu, é mais que suficiente..rs..já acompanho o seu outro projeto do forno maior, no entanto este menorzinho seria suficiente para mim..vc tem fotos ou o projetinho da construção deste forno?
Olá Márcia, para projetos menores recomendo a leitura do livro do Nils Lou “The Art of Firing”. Espero ter ajudado.
Gostei muito do seu blog! É um tipo de compartilhamento simples e muito útil, obrigada!
Muito obrigado Ana!
Boa tarde a todos! E ao mestre ceramista Gustavo Assis, deixo minha gratidão por compartilhar conosco suas criações e conhecimentos… acabei sendo remetido aqui por sugestão do na exato Google enquanto procurava na rede algo ou ensinamento relativos a queima de porcelanas e amei esse seu forno e gostaria muito de fabricar um desse jeito o senhor poderia me dar um caminho para que eu consiga fazer um pelo menos equivalente ao seu meu amigo? Meu nome é Natanael Rozeno Da Silva moro na cidade de Bertioga SP Litoral Paulista e aqui não tenho conhecimento de ceramistas então minhas peças ficam paradas chorando e sonhando em um dia se tornarem bolas porcelanas utilitárias… meu WhatsApp se não lhe for inconveniente conversar por lá é o DDD 11996256140 se for fora do Brasil utilizar o anterior de sinal do +55 11 9 96256140. Aguardando muito seu retorno a essa mensagem amizade. Deus Jeová os abençoe.
Muito obrigado Natanael pela leitura e pelas palavras gentis. Um abraço!